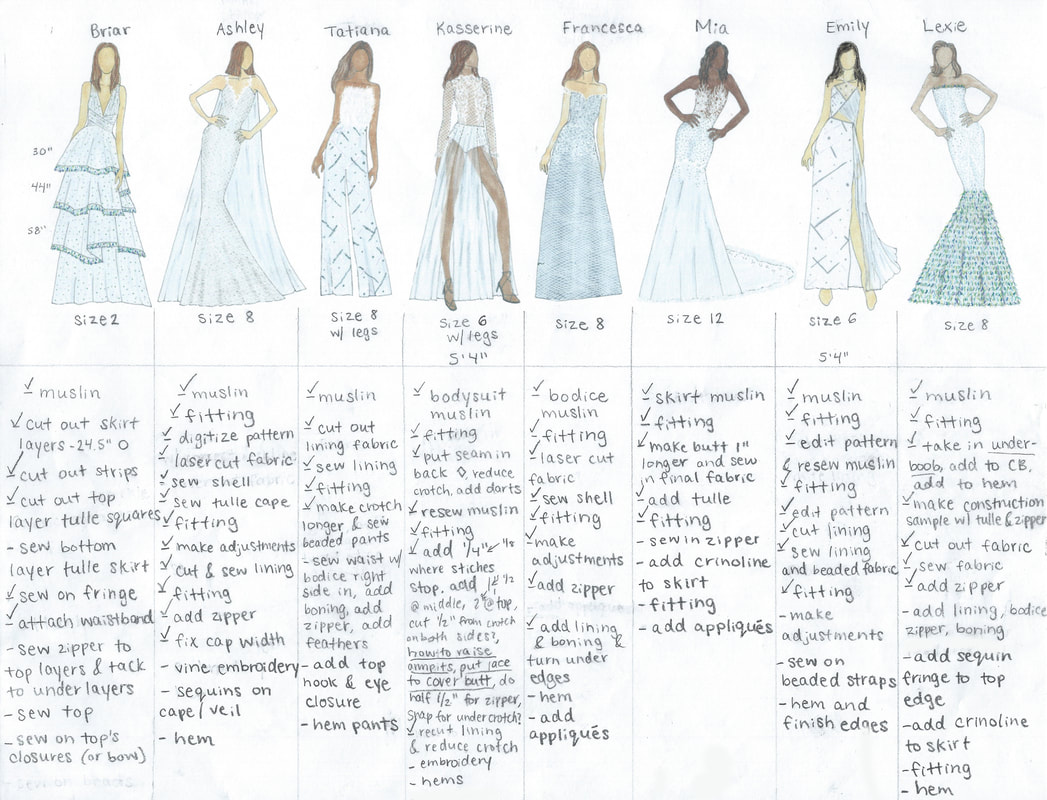
Abundant hand-work included cutting and sewing appliqués and fringe. I used technical patternmaking for the creation of convertible gowns and for precise placement of beaded fabrics on the gowns.
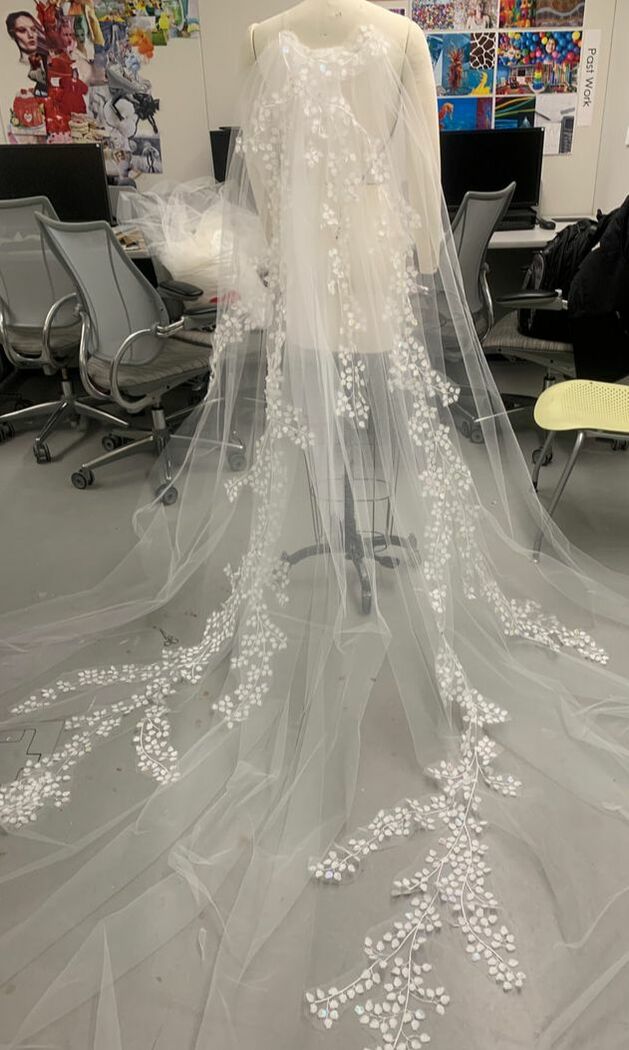
The Ashley Gown
|
|
|

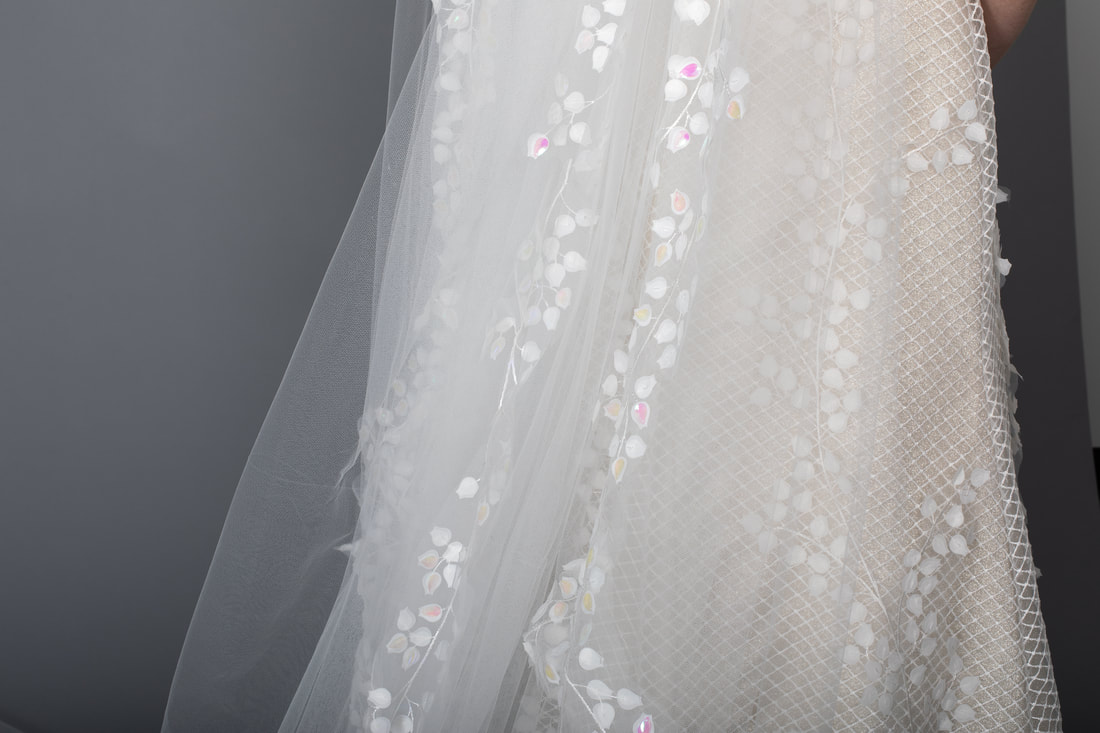
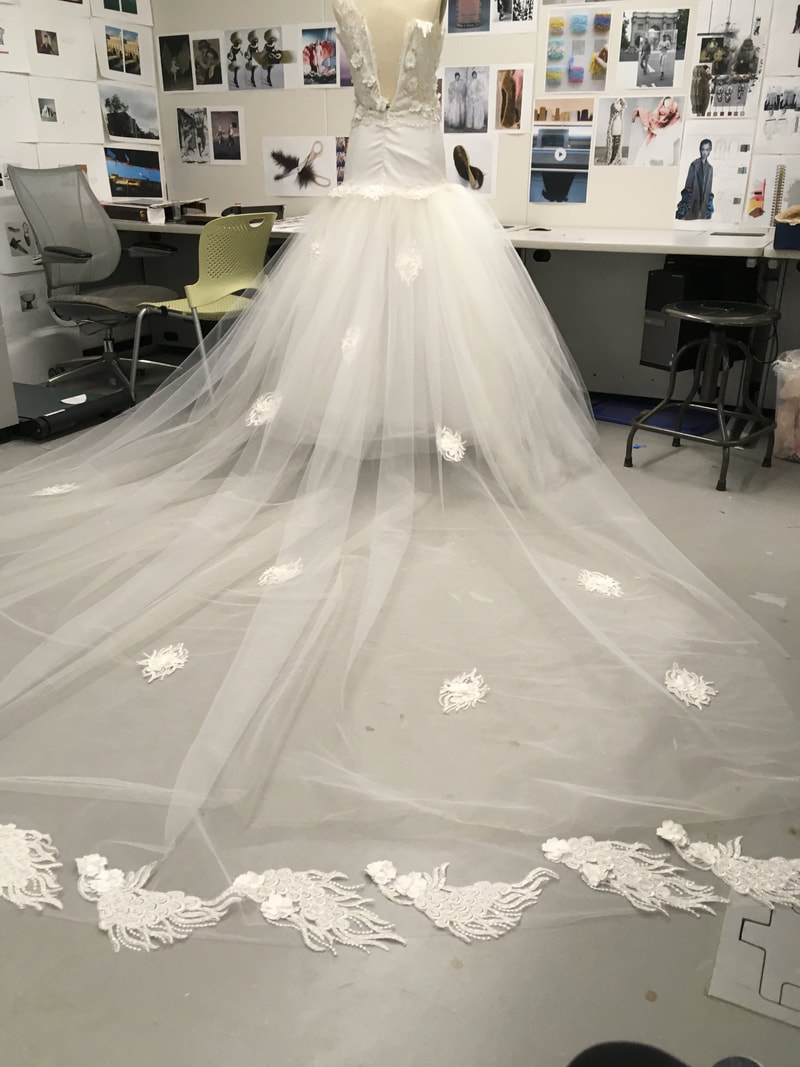
After appliquéing the leafy, vine pattern onto the cape-veil, I intermittently placed leaf-shaped iridescent sequins on top of the appliquéd leaves to give depth, sparkle, continuity with other fabrics, and correlation with the EDM vibe.
|
|
The Alexina Gown
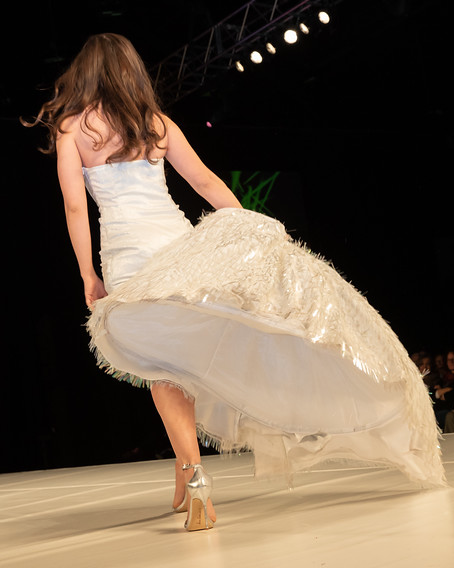
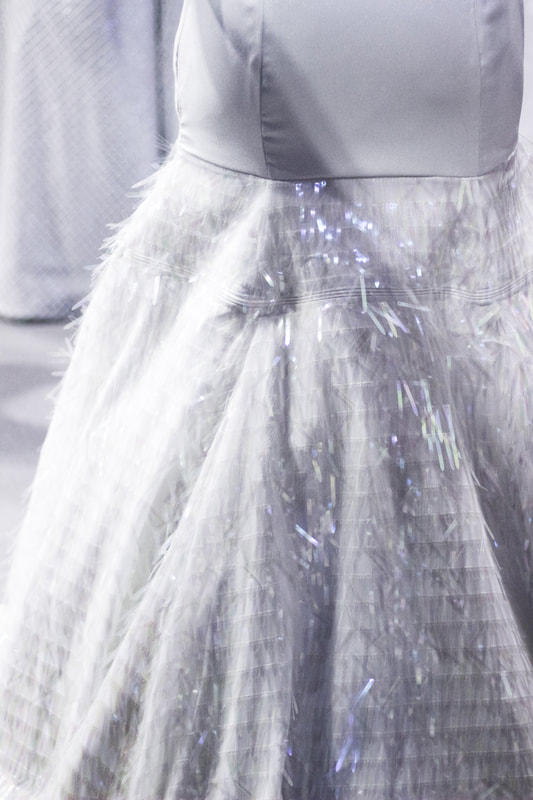
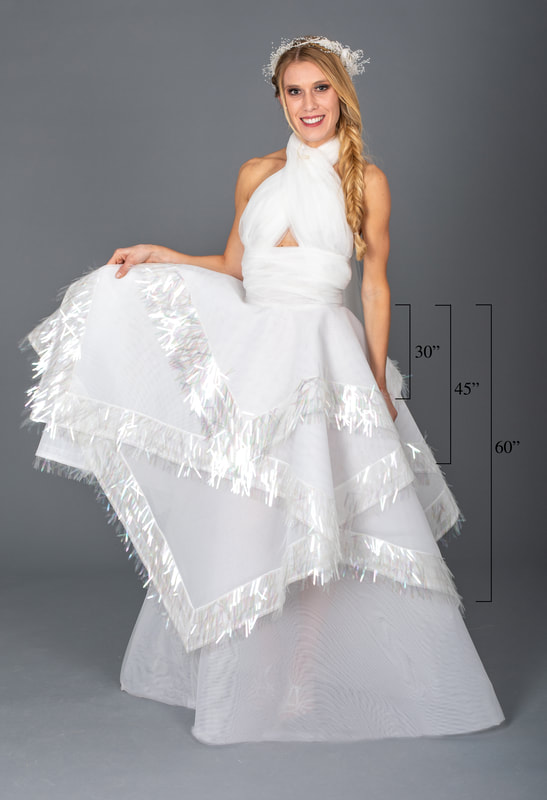
As seen in the above and right photos, the removable skirt comprised four layers: the spangle iridescent fringe fabric, a two-tone metallic fabric (the same fabric as the bodice), crinoline, and polyester with boning. The dress needed extra support to hold up the heavy spangle iridescent fringe fabric.
|
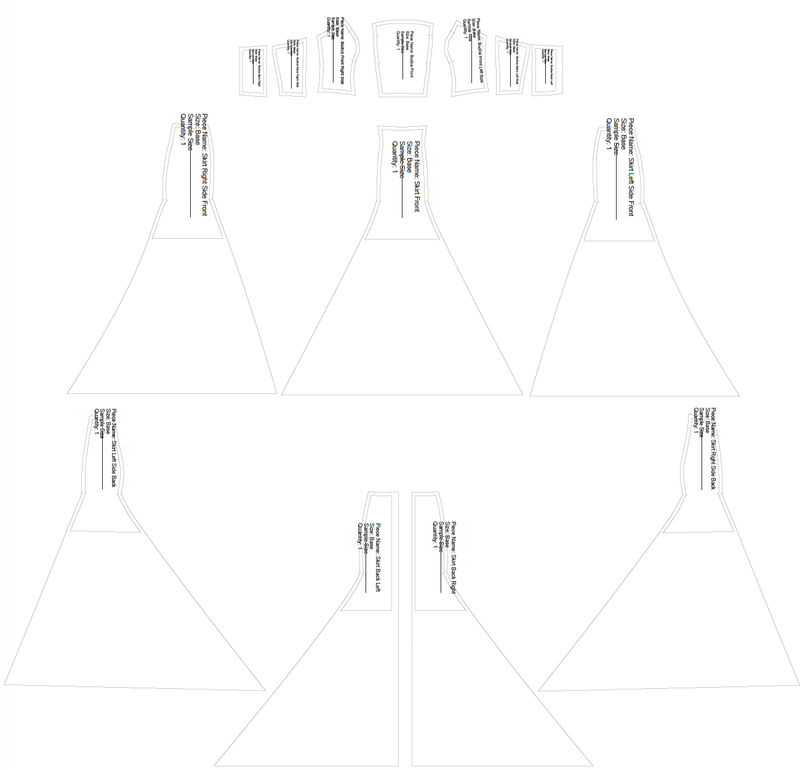
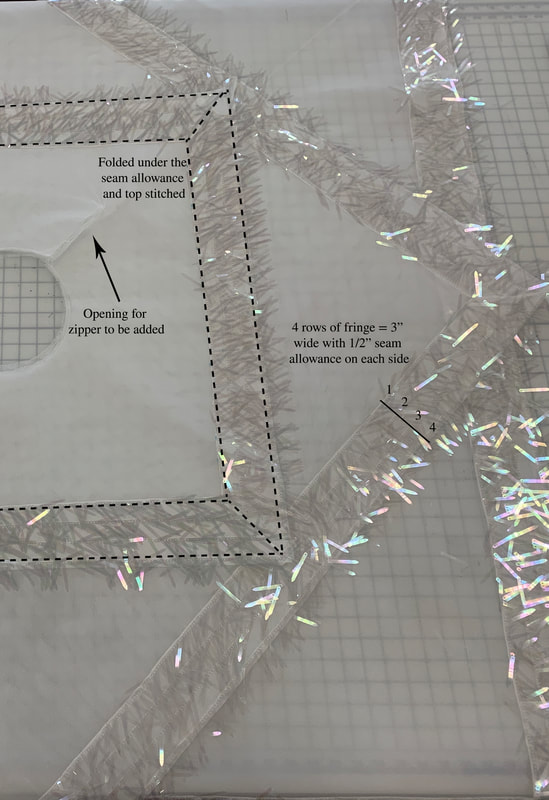
I used technical patternmaking for the creation of this convertible gown. Shown above is the initial pattern before adding a seam to the lower thigh area. The bodice and skirt patterns were combined to eliminate a waist seam.
The pattern required a 58" custom zipper to make the skirt detachable. 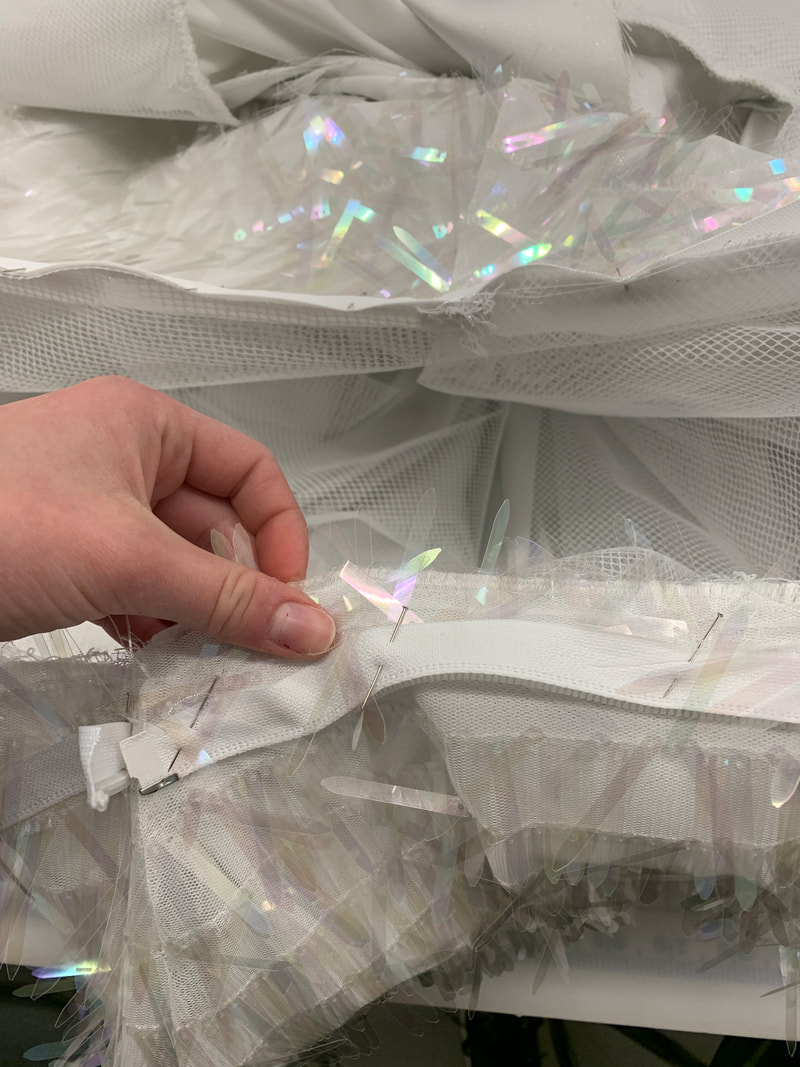
Sewing in the zipper required exact precision to make the seam lines match between the upper dress and the lower skirt. Additionally, sewing in the zipper required extra care to ensure that none of the fringe got caught.
|
|
Giving a bride the ability to convert her dress from the floor-length religious ceremony gown to the shorter dress for dancing at the reception, saves her money by buying only one gown instead of two. Without ever having to change attire, the bride saves precious time so she never misses a beat while enjoying her special day!
|
|
The Briar Gown
|
|
I created the skirt of this gown by making different sized squares each comprised of one layer of stiff polyester organdy and two layers of tulle. I cut spangle iridescent fringe fabric into strips and top-stitched each onto the squares.
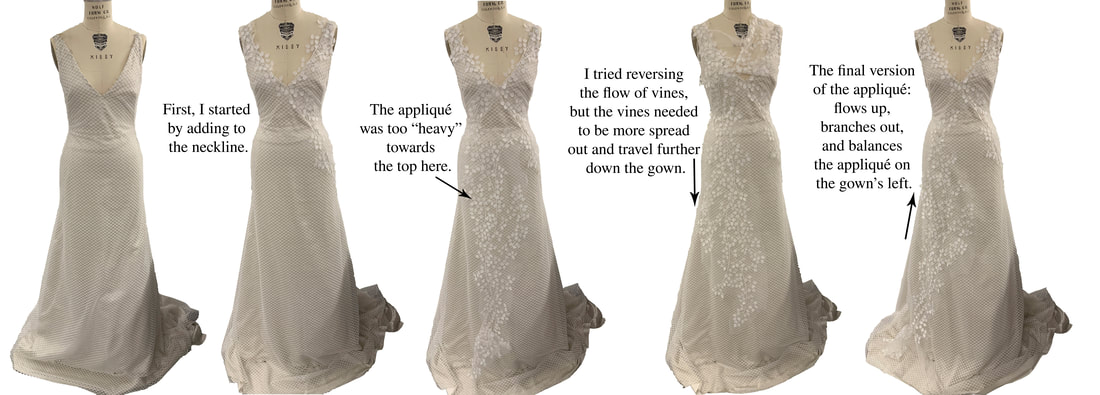
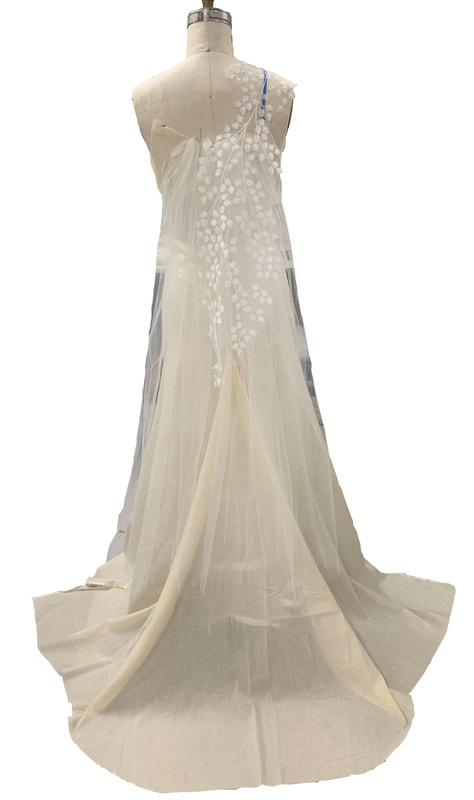
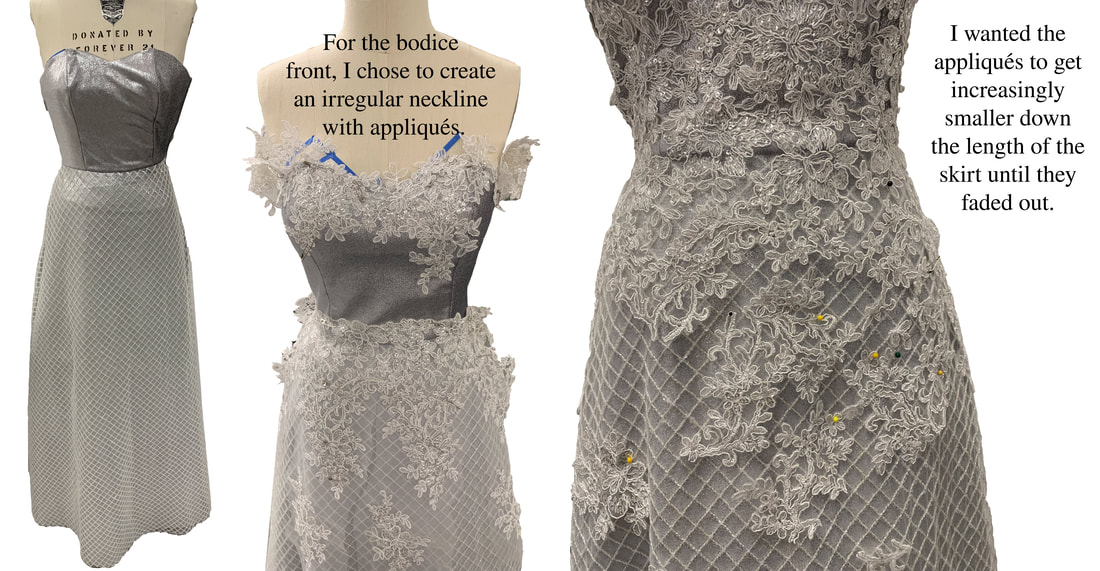
The Francesca Gown
Determining front appliqué placement
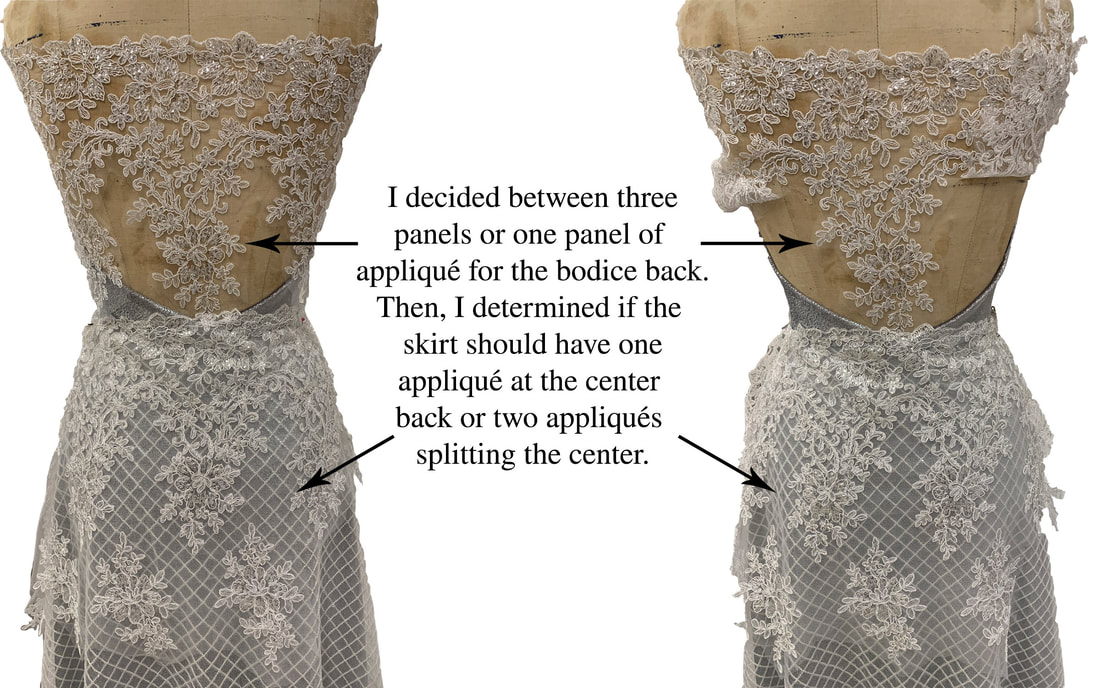
Determining back appliqué placement
|
|
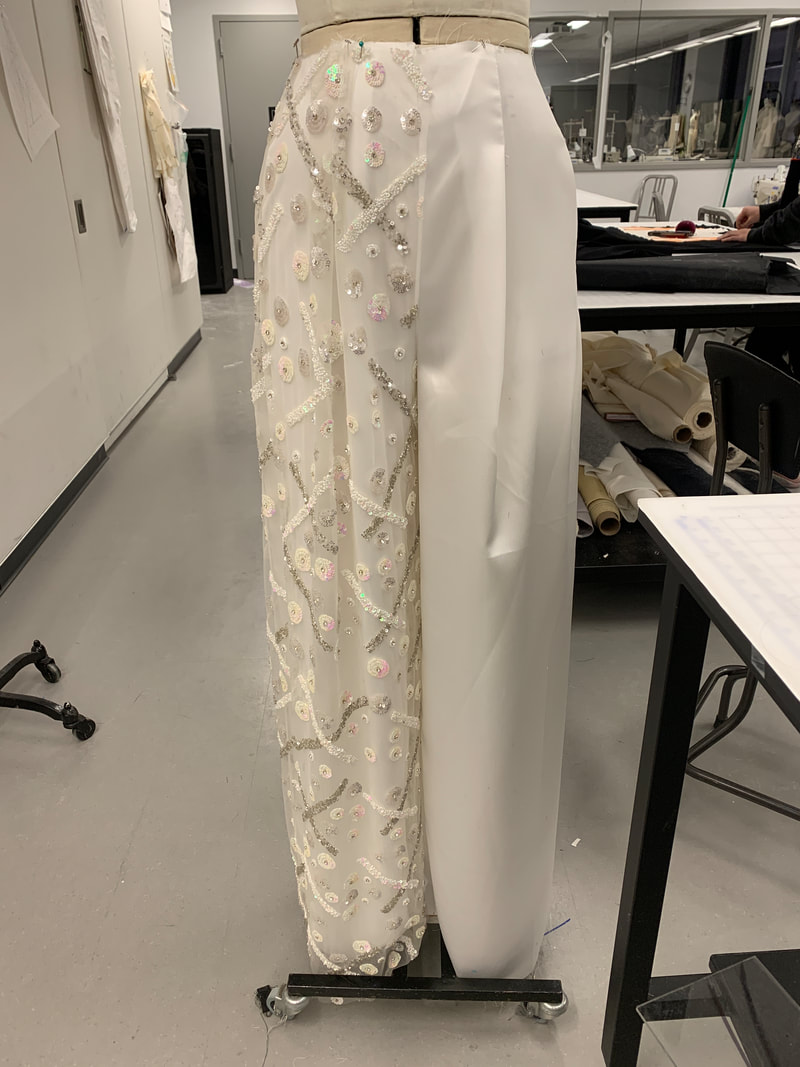
The Tatiana Jumpsuit

|
|
Before sewing the beaded fabric for the pants, I stitched an outline of the pattern’s seam allowances and darts and then removed the beads from those areas.
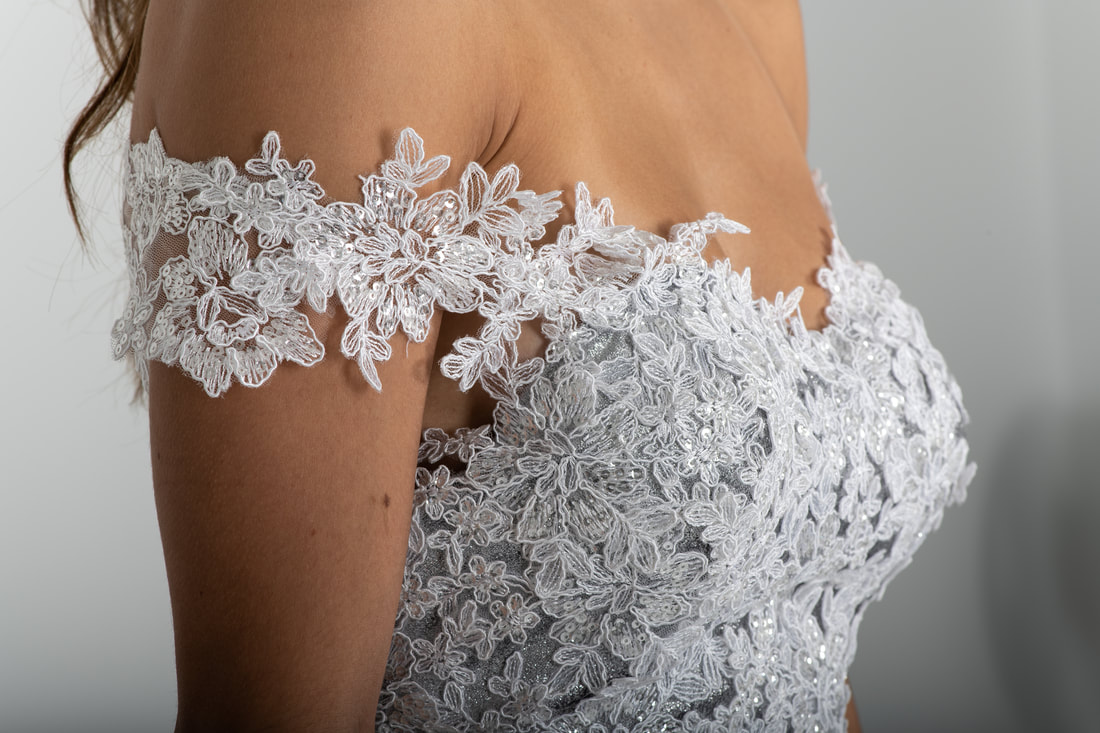
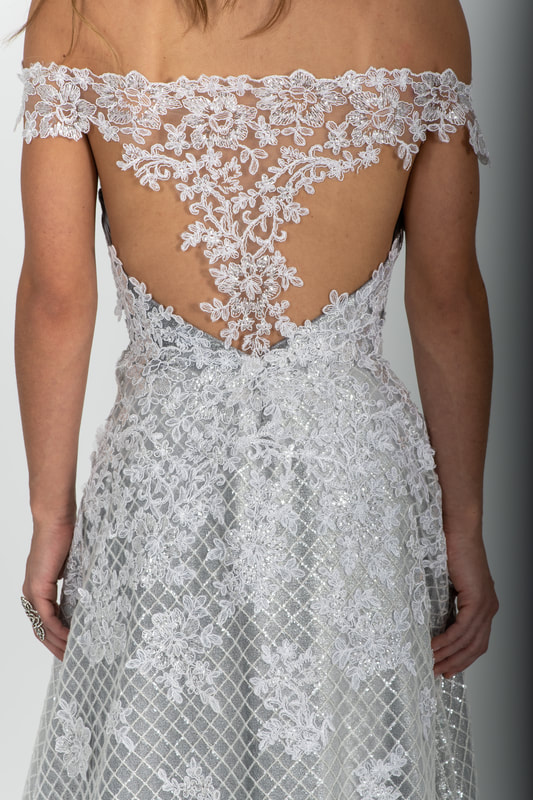
The Kasserine Bodysuit
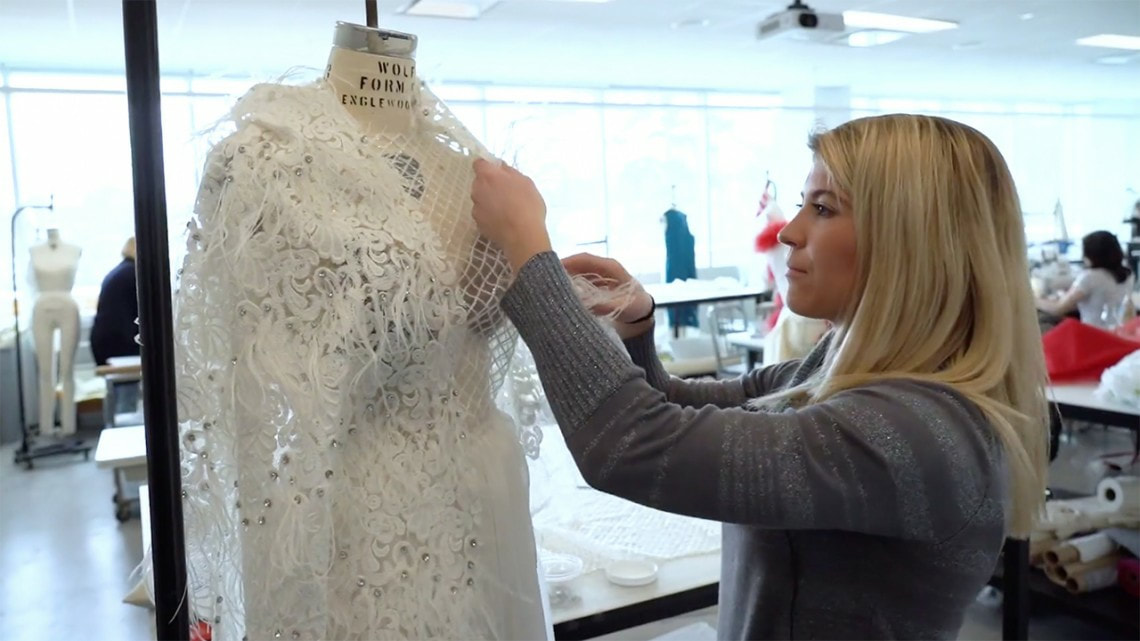
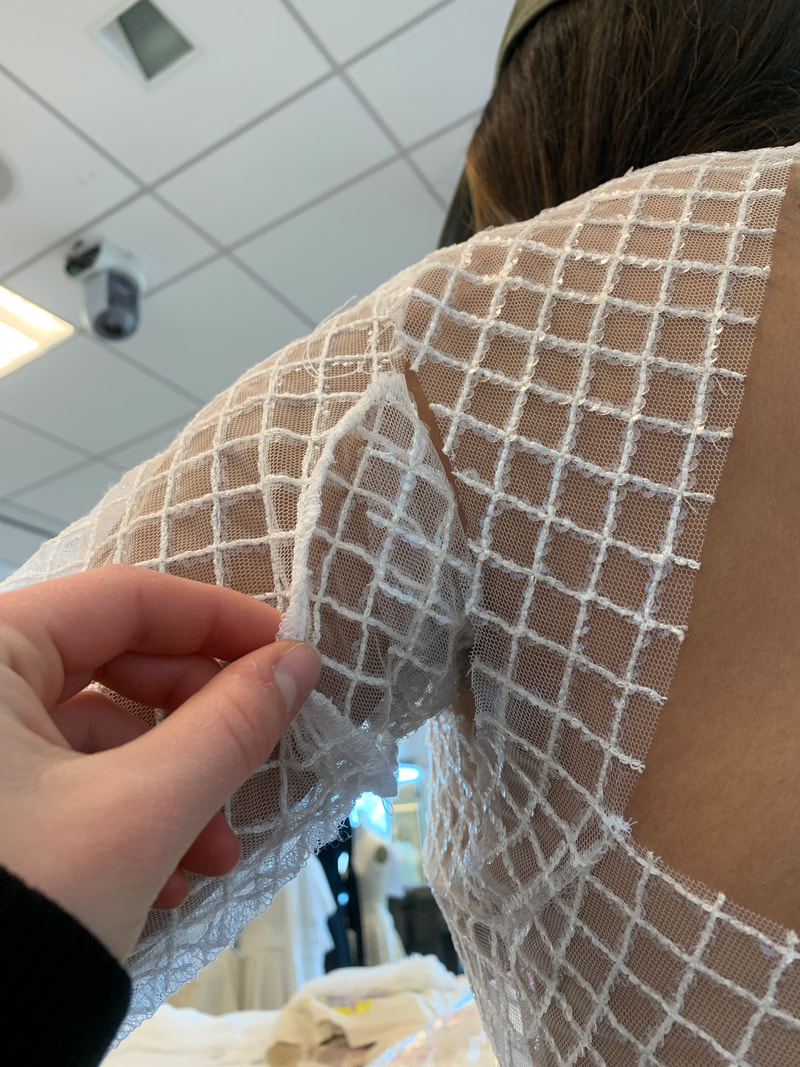
I inserted a gusset to the underarm.
|

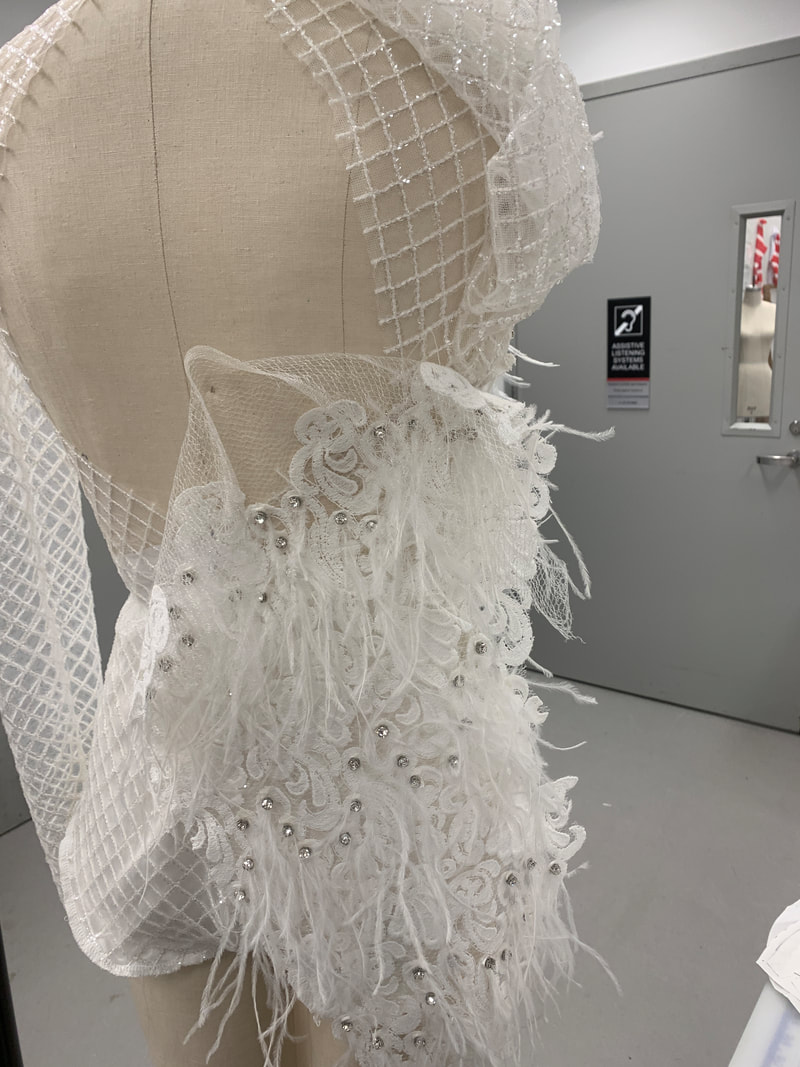
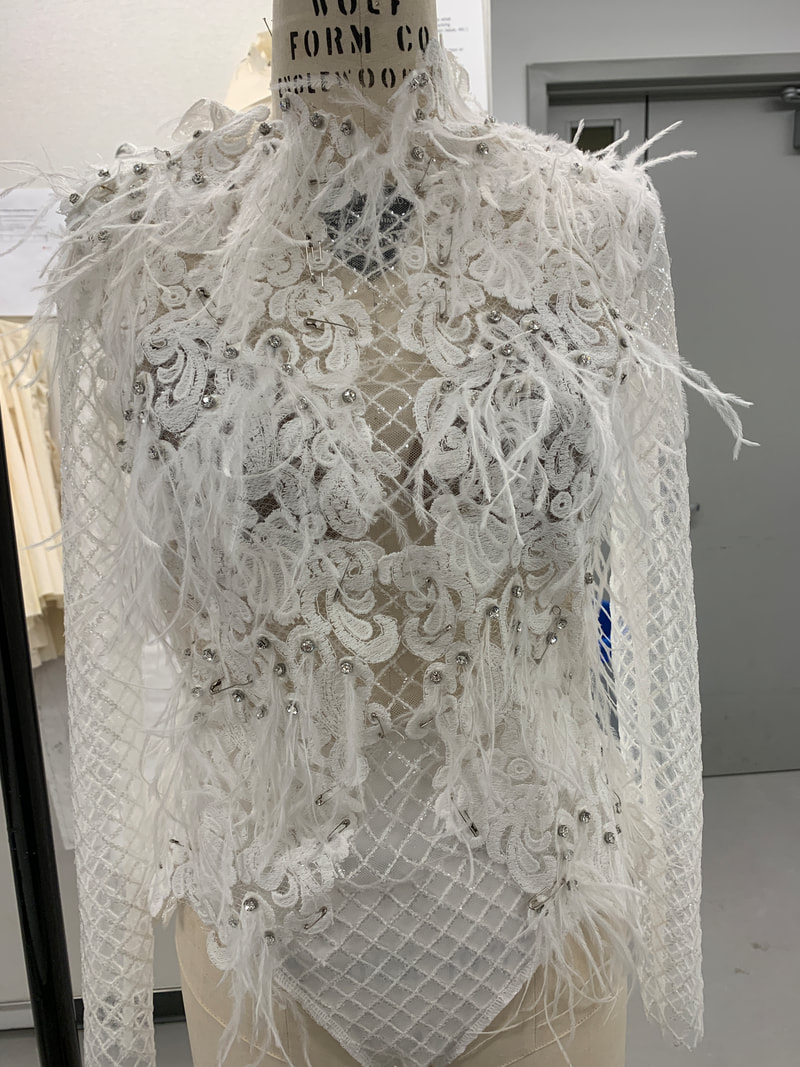
For the bodysuit appliqué, I draped embellished lace over geometric netted fabric. I marked a line where the lace could be cut to expose the netting. I ensured that all whole pieces of the lace motif were kept intact.
|
I arranged the lace to create a seamless break from the front appliqués to the back appliqués over the side seams. The geometric and lace fabrics had different amounts of stretch requiring adjustment as I draped the lace on top.
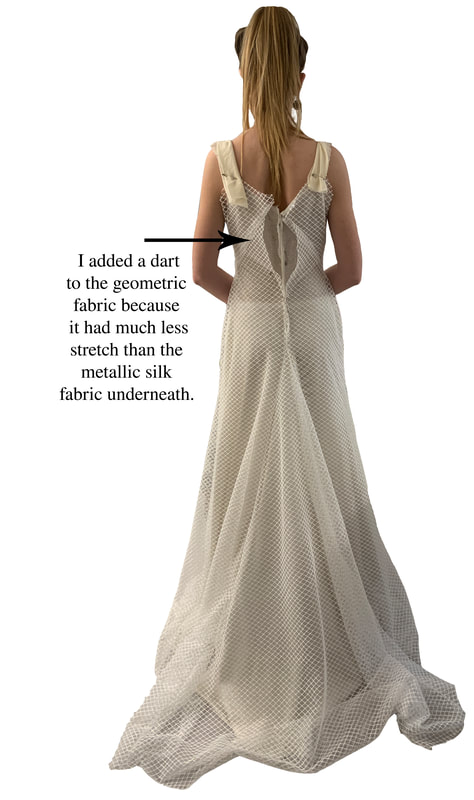
The Emily Gown
|
|
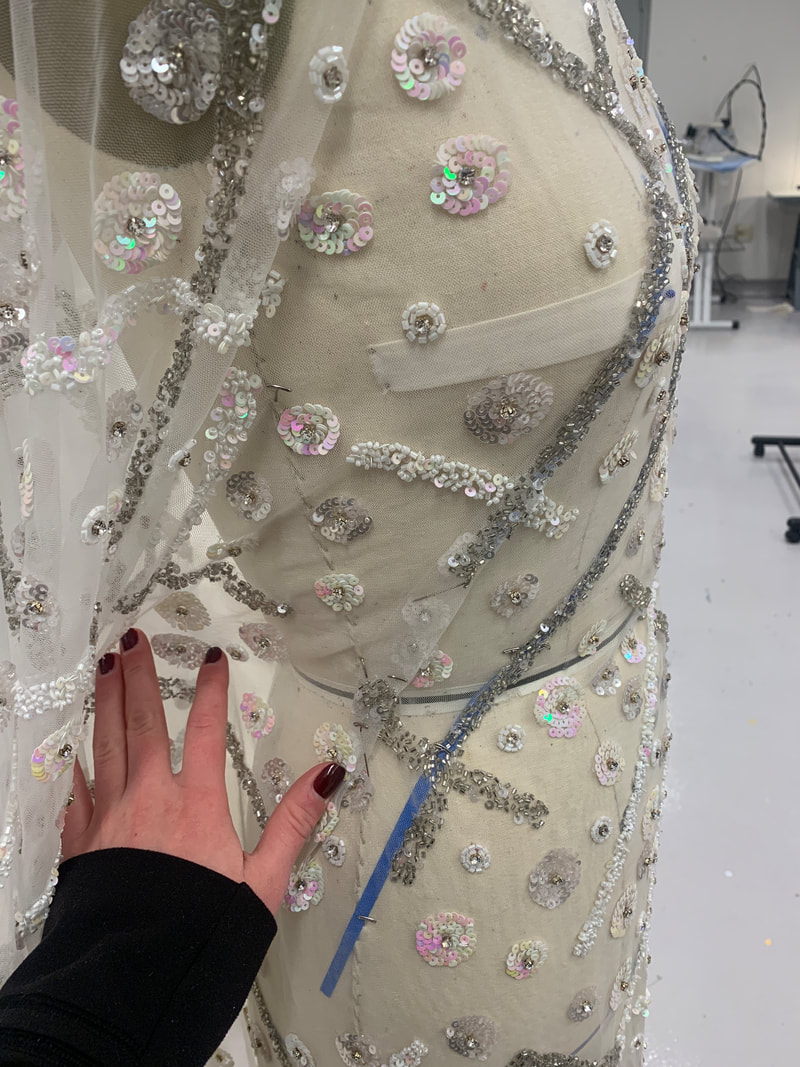
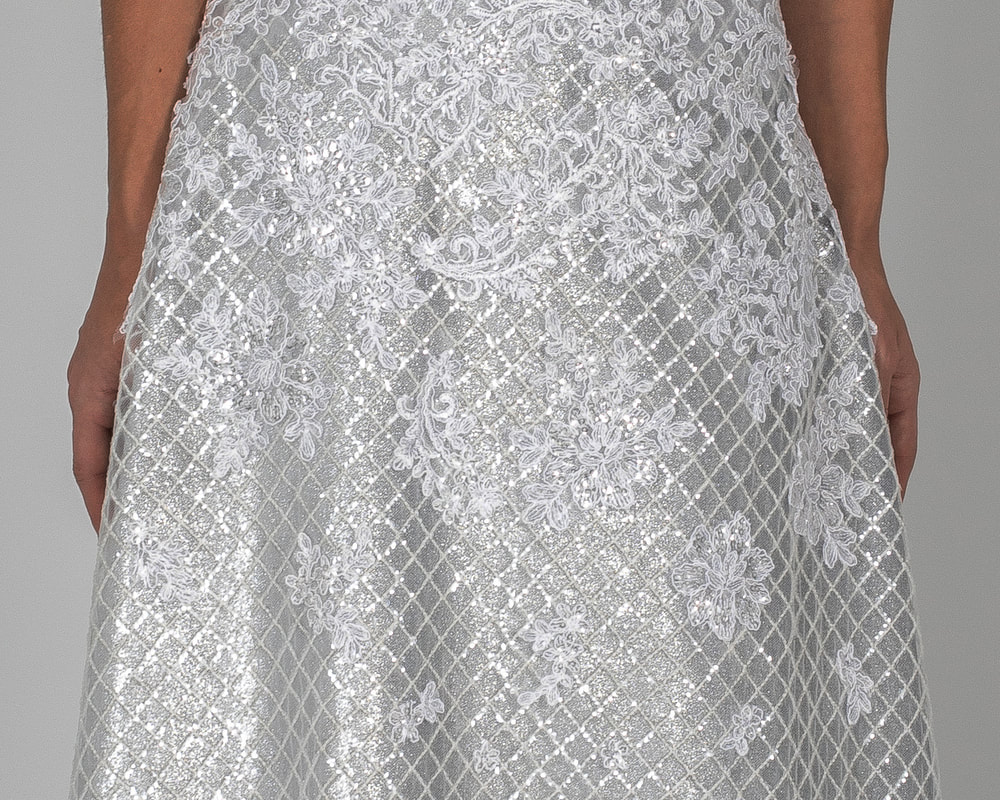
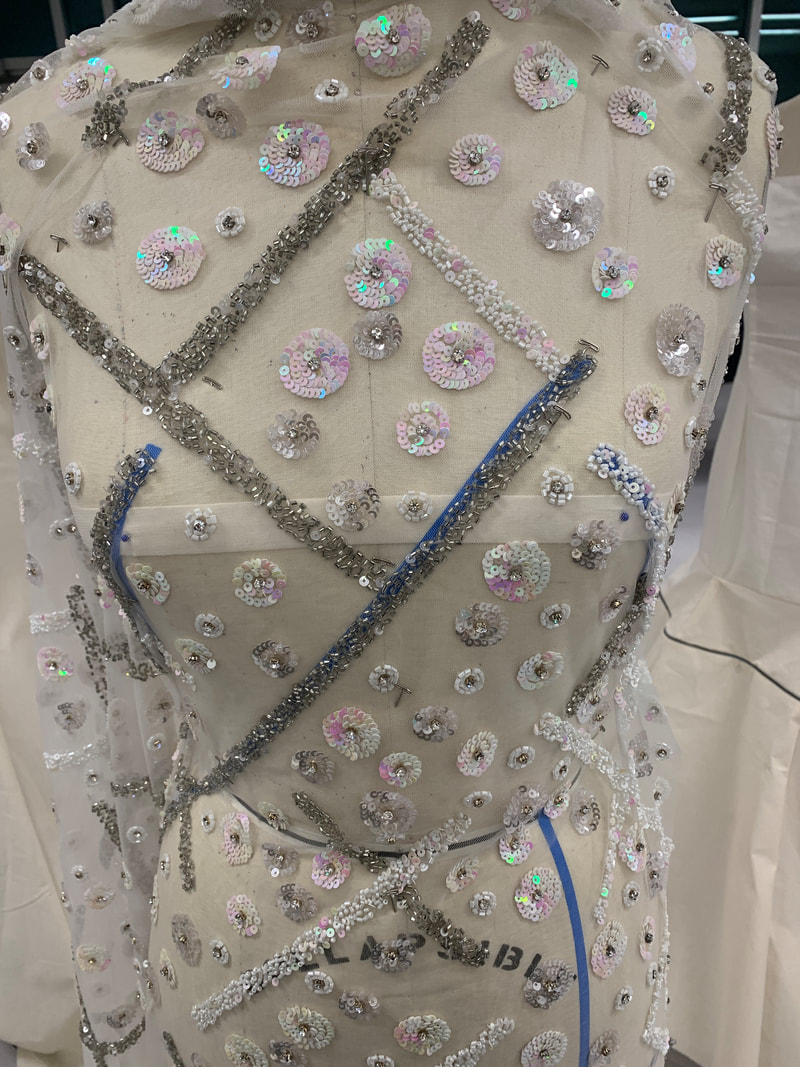
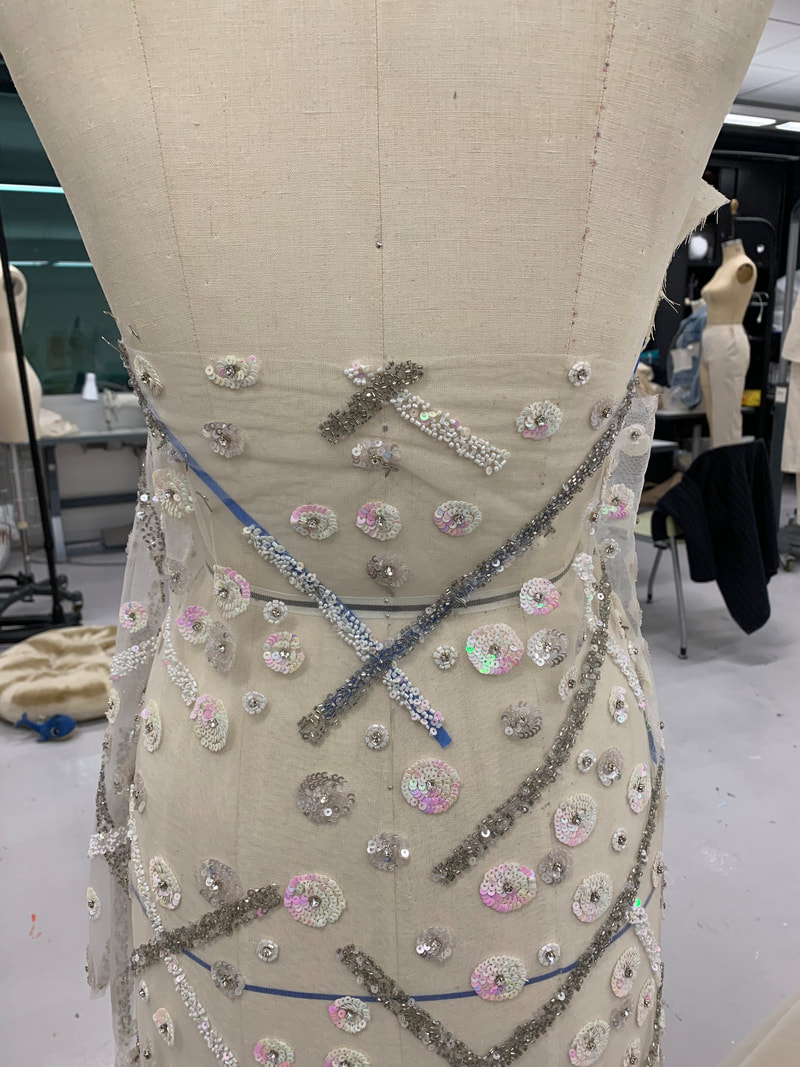
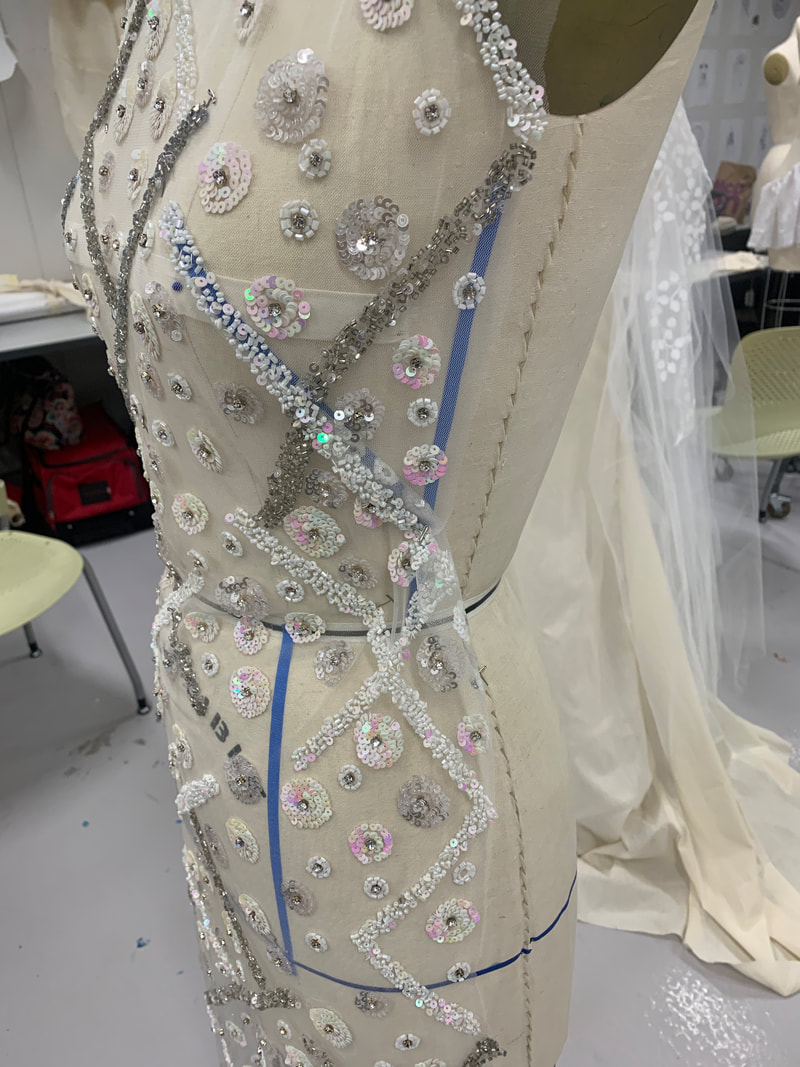
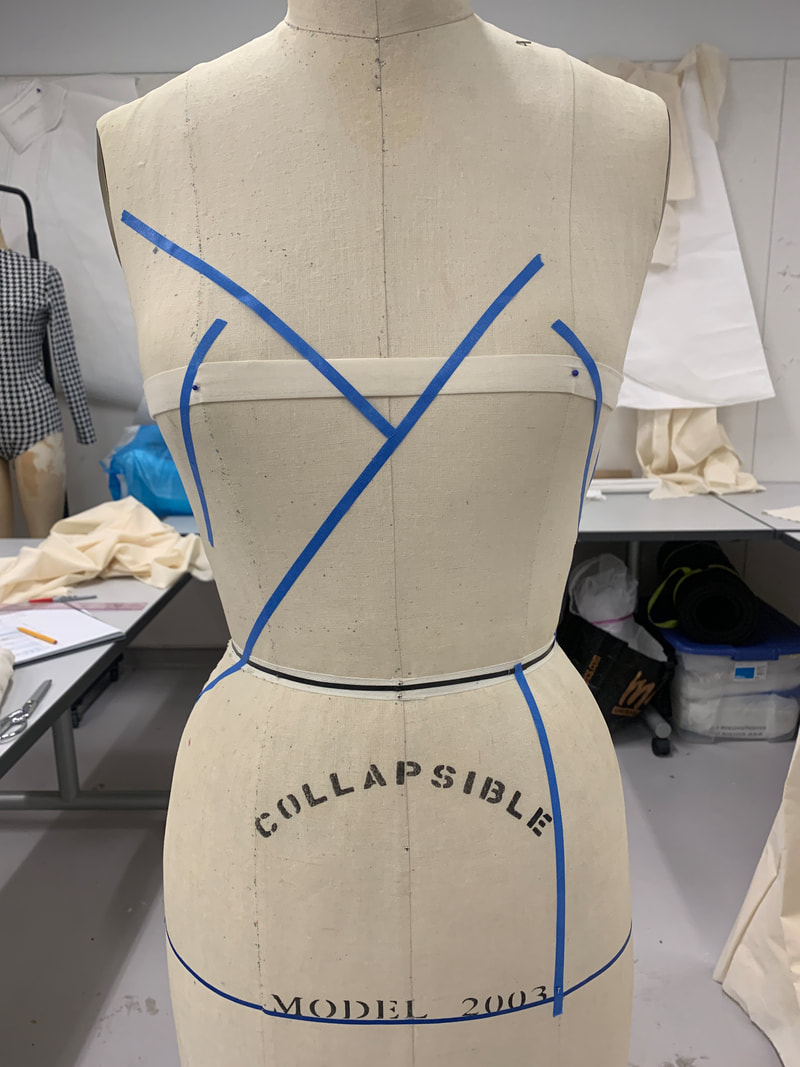
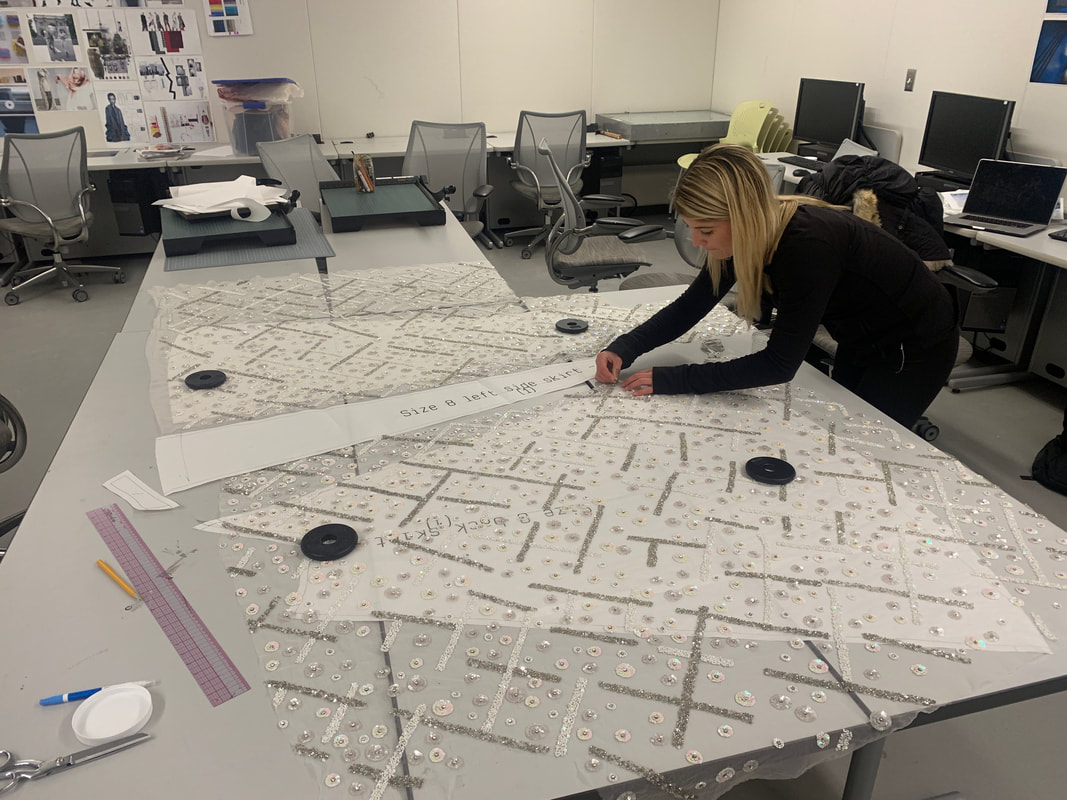
For the gown, I wanted to utilize the beaded lines of the sheer fabric as style lines and as concealment of darts/seams in the white satin that will go underneath it.
Before I cut out the fabric for the gown's skirt, I arranged the crisscross beaded lines to seamlessly connect from one seam to the next without any abrupt breaks. |
The Mia Gown

|
On the mannequin, I draped the gown's bodice in the final fabric and then fitted it to the model. I boned the bodice only where design embellishment would conceal the boning. I strategically added darts to areas only where the continuity of the design would not be disrupted. This gown required almost 30 yards of gathered tulle and a 108 inch train. The tulle was comprised of two layers: one in white and the other in ivory. Layering tulle created a match to the white two-tone satin and the more ivory-colored appliqués. |
|

|